Lara, one of our Level 2 Hairdressing students brings you this step by step guide to creating a simple candy cane hairstyle, perfect for Christmas and New Year parties.

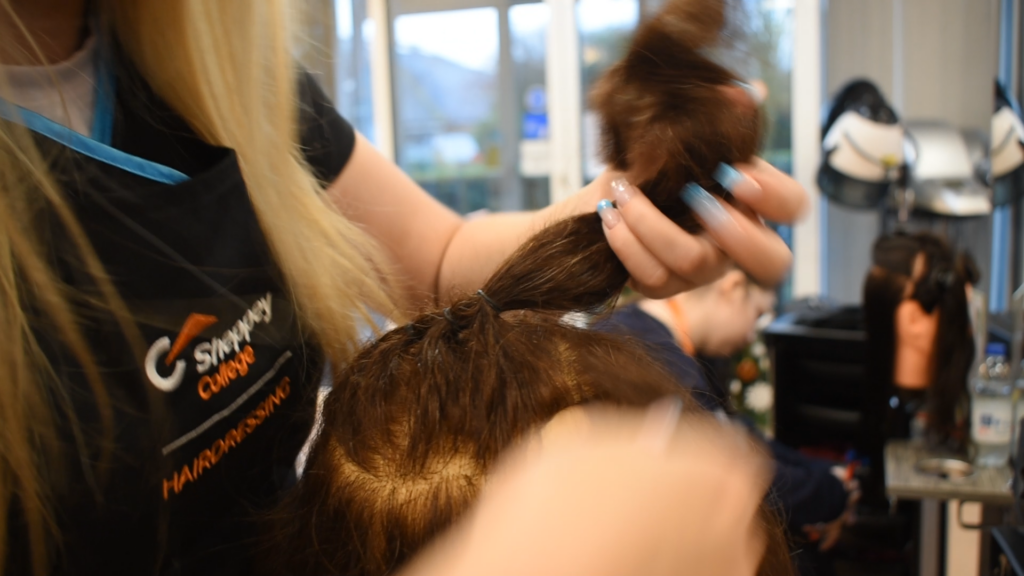
Begin by securing the lower section of the hair at the neck into a neatly groomed ponytail. Brush the upper portion thoroughly, eliminating any frizz for a polished appearance.
Select a small, straightened section at the top of the head (on either the left or right side) and create a preliminary ponytail using an elastic hair band as a foundational base.
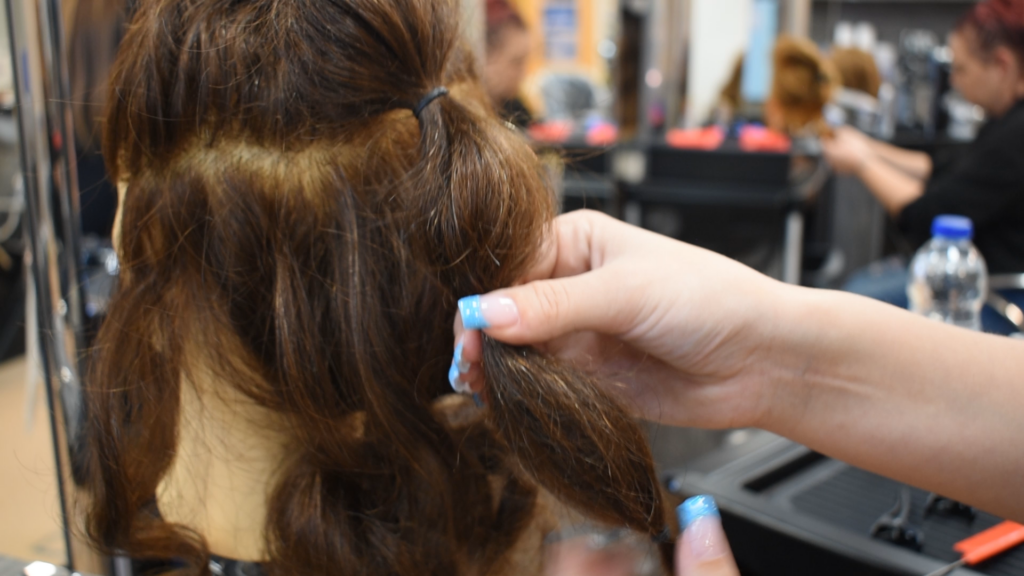
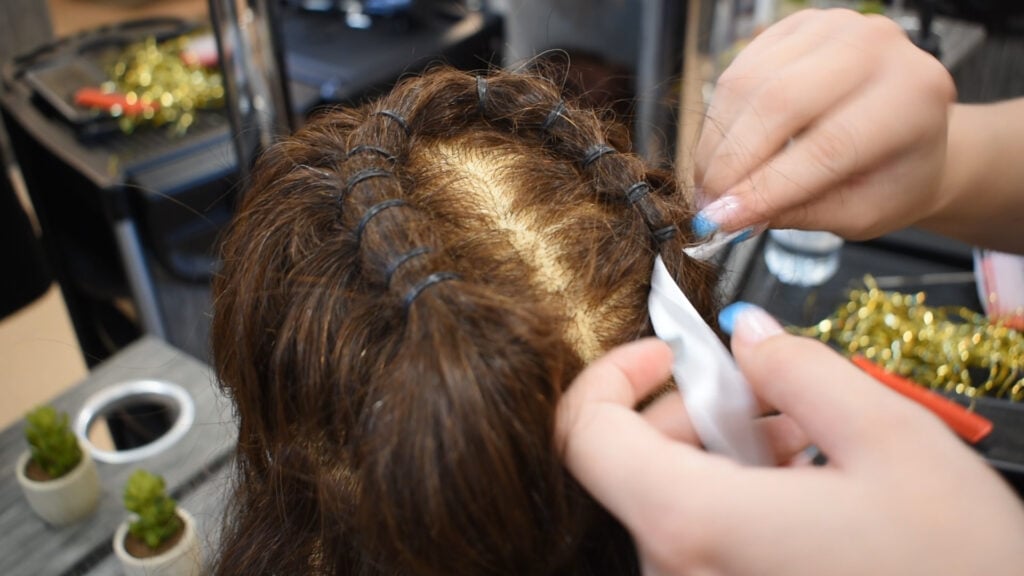
Progress towards the front, taking successive small sections of hair and incorporating them into the existing braid. Utilize additional hair bands to secure each new section to the previous one.

As you approach the front, adopt a diagonal direction to form an arch in front of the face, crafting the distinctive u-shape reminiscent of a traditional candy cane.
Extend the braiding process until you reach the back, ensuring that the final braid runs parallel to the starting point.
Elevate the final hair band upward along the length of the hair to fashion a bubble braid. Successful execution will yield a buoyant, round bauble appearance.

With the completion of the bubble braid, the candy cane shape is now integrated into the hairstyle.
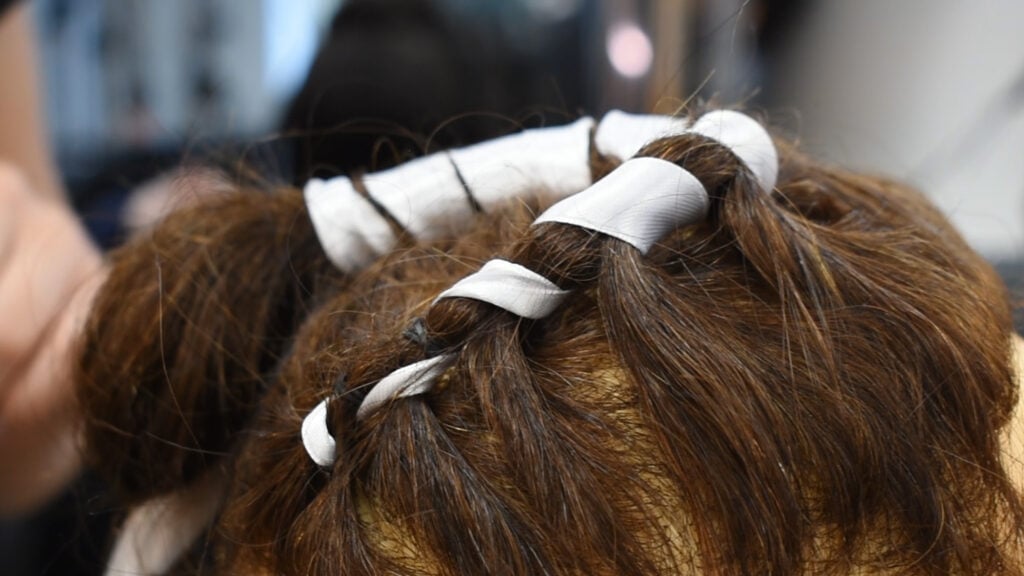
Introduce red and white ribbons to add the finishing touches to your creation.
Take the first ribbon, twist it into a thin profile, and weave it beneath the initial section of the hair. Continue to thread the ribbon through each subsequent section, creating a zig-zag pattern and secure tightly.

Progress around the hairstyle, tying the ribbon at both ends to ensure the look remains stable. Repeat the process with the second ribbon to complete the candy cane image.

Thank you to Lara for sharing this step by step guide. Interested in learning more Hairdressing techniques at EKC Sheppey College?


